Banishing the darkness.

I have previously shared photos of the exterior of The Cabin. However, I’m posting a new photo below because we have made a few changes. No more green shutters! The shutters are now blue and I love them. (Kenn chose the yellow for the front door, so I got to choose the color for the shutters.)
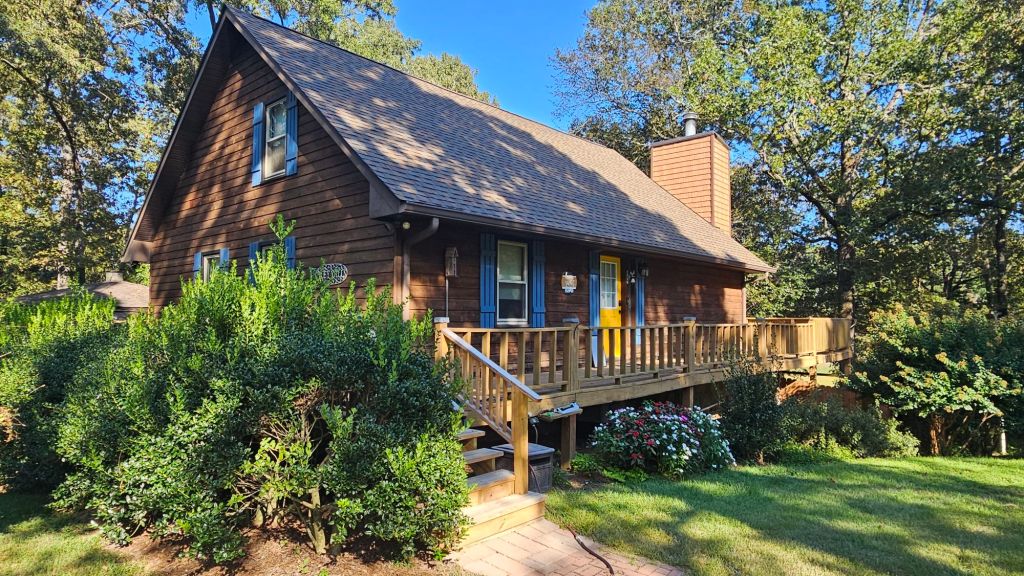
Wow. We really need to trim the holly.😬

What you haven’t seen until now is the interior. The living area is a “great room” with a lofted ceiling. The walls of the living area are a dark wood as are two of the bathrooms; the bedrooms and one bath have sheet rock walls. However, even in the rooms with traditional walls, the doors, door frames, window frames, and base boards are stained a dark brown. The wood walls are perfect for decorating. Want to hang a picture? Just grab a hammer and nail. Not the right place? Just yank the nail out. There’s no need to patch the nail hole, no one will ever see it. However, all of the brown makes the house DARK.
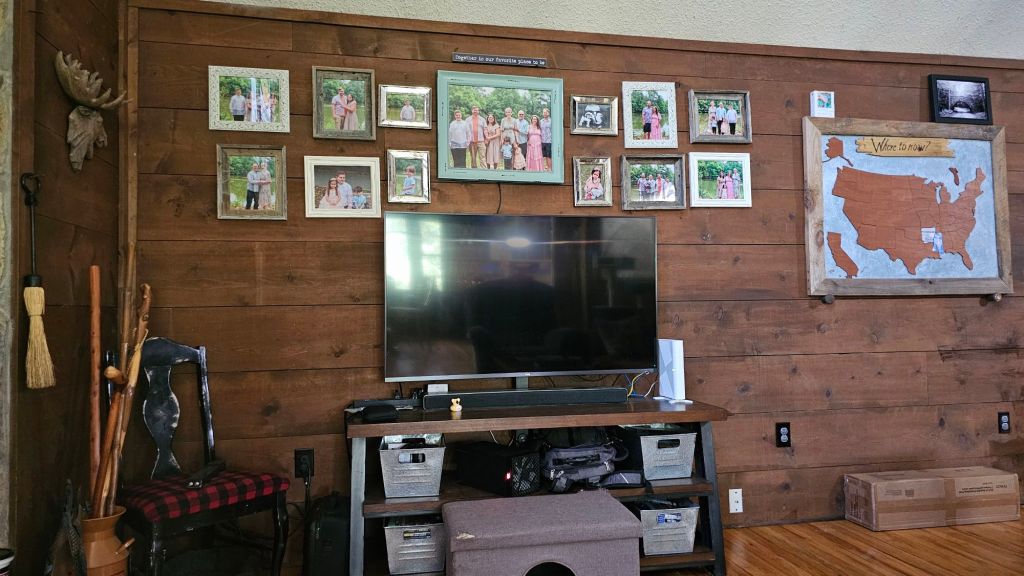
We have a wall of shutters (dark brown, of course) between the living and dining areas that cover sliding glass doors. When we’re home during the day, we open one side of the shutters to let in more light, and the cats enjoy watching the world go by. Then night falls and the shutters are closed. This is when I turn on almost every light on the main level: the kitchen light, the dining room light, and the three hallway lights. Occasionally, even all of these lights leave me feeling like I’m sitting in the dark.

I have to admit that even feeling like I was living in a cave, it took me far too long to actually check the fixtures for burnt out bulbs. LED lights are bright and all that, but I miss incandescent bulbs. Flip the switch and and incandescent bulb would fail with an audible pop and one last dramatic flare of light; there was no doubt that the bulb needed to be replaced. LED bulbs just quietly fail and it seems to take a while for the failure to register with me. In addition to replacing failed bulbs, I replaced the yellow-tinted “daylight” bulbs with the brighter “bright white” bulbs. This small change made a noticeable difference.

A couple of weeks ago, I was once again replacing burnt out bulbs when I told Kenn that I wanted to replace one of the hall fixtures; it was a smaller one-bulb fixture with a translucent globe so it really wasn’t providing a lot of light. Kenn agreed and said he wanted a light that would actually illuminate the interior of the hall closets. So, we made a trip to Lowe’s and bought a replacement fixture that not only matches the other two, but has a clear globe. The new fixture produces such bright light that Kenn says he feels like there’s a spotlight shining on him whenever he is in that area. Sounds to me like Mission Accomplished!

On of my future goals is to replace the sliding glass doors with French doors thereby getting rid of the dark wall o’ shutters. Not only will that provide more natural light during the day, but I will no longer have to dust the bloody shutters which is one of my least favorite chores.🙌

Are there any changes you would make to your home?
Out with the old.

I don’t know what happened, but when my part-time job ended, I decided that it is time for us to start working on the projects that we’ve discussed seemingly forever. Among those projects are:

  • Replacing the ceiling fan and light fixture in our living/dining area.
  • Install vinyl plank flooring in the basement bathroom and replace the sink and toilet.
  • Replace the counter and sink in the main floor bathroom.

The basement bathroom project revolves around us agreeing on which vinyl plank flooring pattern to use which may take a while. Kenn likes lighter flooring, I don’t – especially for the basement bathroom. The basement bath is between the half of the basement that serves as Kenn workshop and the half where my video game consoles are set up. As such, that bathroom sees a lot of muddy boots (Kenn’s) which, in my opinion, are not conducive to a light colored floor. I think he now sees the logic behind going with something a little darker, but we haven’t found exactly what we’re looking for yet.

Our next door neighbor has his own counter/cabinetry business, so replacing the counter/sink in the main floor bath is only a matter of getting on his schedule. We purchased the sink/counter combo for our master bath from him, so we already know what pattern we want – no decisions to make here!

We usually replace ceiling fans and light fixtures on our own, but the ones in the “great room” are going to require a professional with a scaffold or something due to the twenty-foot ceilings. I will dust the ceiling occasionally, but that’s where it stops for me.

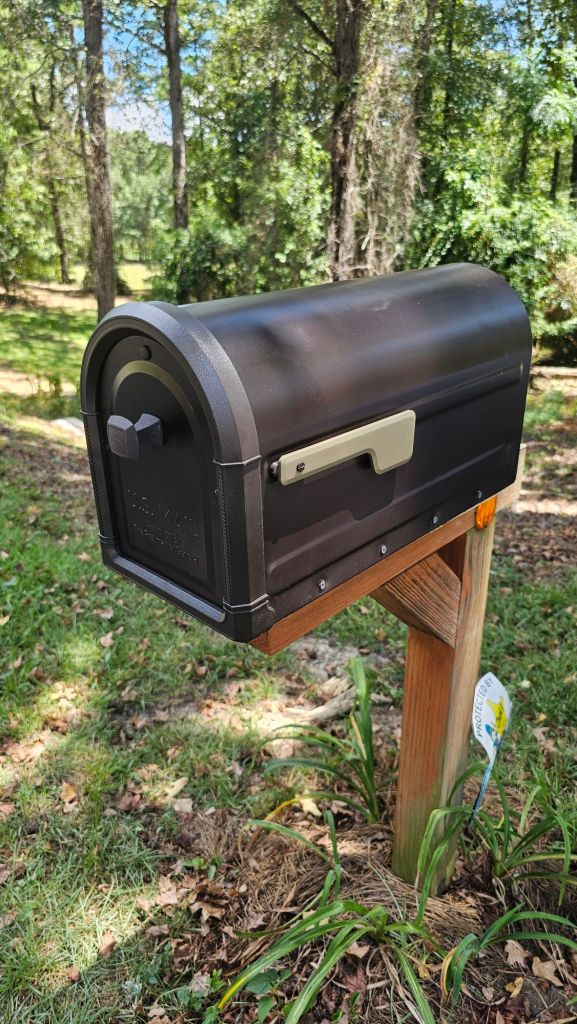
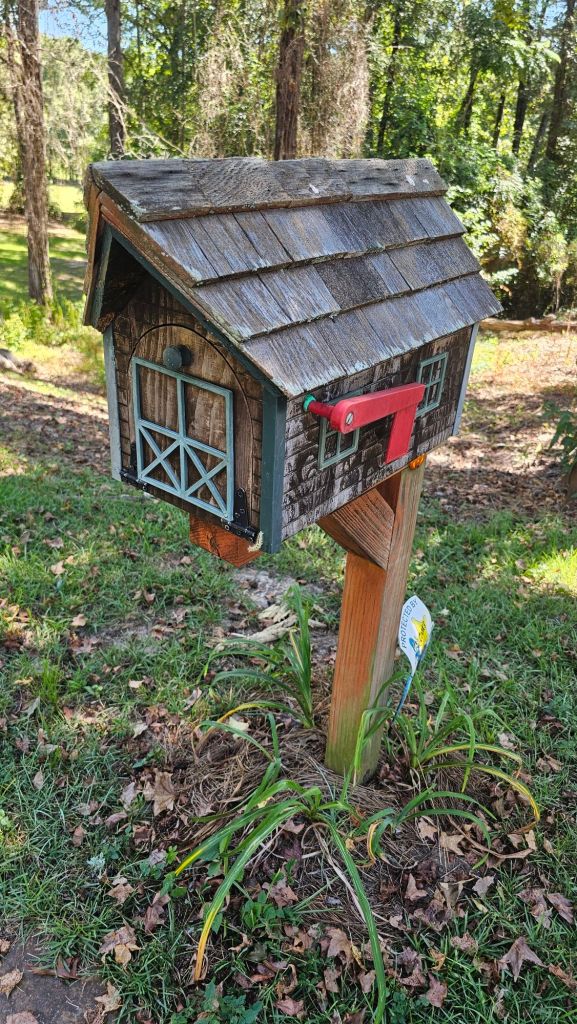
We recently undertook a smaller project. Well, it was a smaller project for me; I don’t think it was even on Kenn’s list. We replaced our mailbox. The Cabin came with a rustic mailbox. (Shocking, I know.) The cedar mailbox was great for our rural location and rustic house, but it required too much upkeep for me. The mailbox looked like a house and the previous owners had stained the sides and roof of the mailbox to match those of The Cabin. They had even painted the “doors and windows” on the mailbox green like those on The Cabin. I played around with the idea of repainting the mailbox “door” yellow after we repainted our front door, but… no. The mailbox roof had faded and needed to be restained; it also had moss and lichen growing on it. I mentioned it to Kenn, and he was enthusiastic. “We can clean it and restain it!” However, I strongly suspected that that “we” meant “me” and “me” had no interest in taking on that task. I’m not a high-maintenance person, and I don’t want a high-maintenance mailbox. So, I bought a basic bronze mailbox and we installed it a few days ago.

The original mailbox.
The new mailbox.

While we were installing the new mailbox, we were also waiting for an air conditioning technician to arrive. Our A/C had stopped working the previous day, and it was time for us to find out if the existing unit could be repaired or if it would need to be replaced. Based on the date written on the unit, it’s twenty-two years old; I couldn’t help but feel that the odds were not in our favor. However, we dodged a bullet. A new switch and capacitor got the unit back up and running. We know it’s at the end of its lifespan, but hopefully, this fix will keep it running a little longer.🤞

Are you a DIY-er or do you prefer to hire a professional for your home improvement projects?

Not so mellow yellow

Our house (aka The Cabin) is very rustic and we love it. One of the only things I haven’t been crazy about is the fact that the front door and shutters are green. Green is my least favorite color. It makes sense; the green accents and brown siding help The Cabin “blend in” with our wooded lot. Over time, it has become obvious that the painting of the door was one of those sort of slapdash “fixes” to pretty up the house for selling. Everything door-related had been painted green: the window dividers, the door, and the doorframe. Over the years since we moved in, the paint had begun fading and started peeling. There were many discussions about repainting the door and what color(s) we should use. We finally quit talking about painting and actually painted. (Go, us!)

The Cabin with its original green door

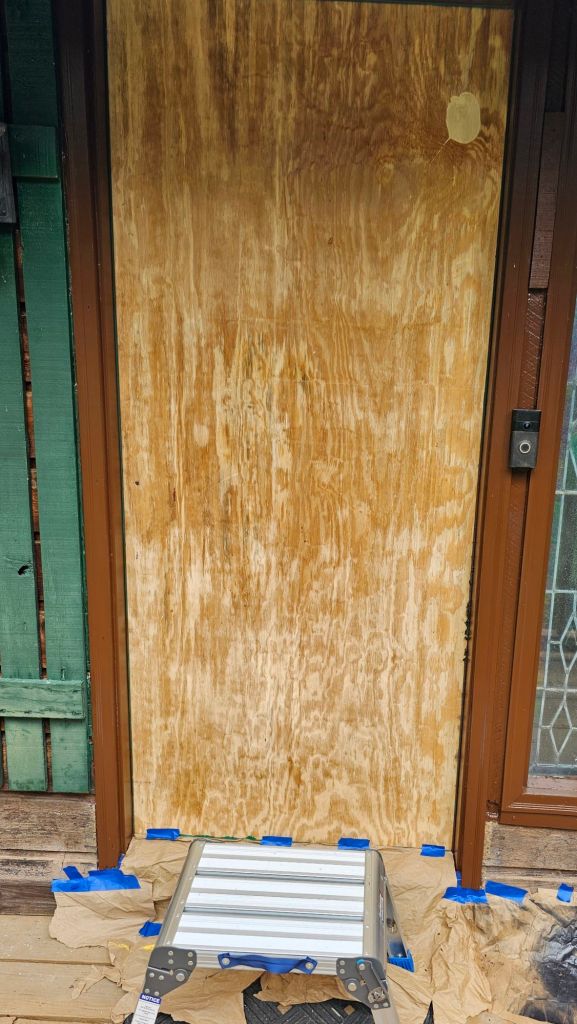
I knew I wanted to paint the window dividers white like they were originally. Initially, I wanted to paint the doorframe white as well, but decided that that would be too stark against the darker shutters and siding. In a flash of inspiration, we decided to paint the doorframe brown. I’m a big fan of Behr paint-and-primer-in-one. (Behr is sold at Home Depot.) I’ve seen Behr work miracles covering some extremely dark colors with only one coat. I had a hunch that the front door would not be one of these miracles since the green we were covering was so dark. I was right. Even the dark brown took two coats (and a few touch-ups) to cover the green. Due to our cats, we couldn’t have the door open for hours while we painted and let the paint dry. We did as much painting as we could with the door in place. Friday, we took the door down and replaced it with a sheet of plywood, which remained in place until late Saturday when the paint was dry enough to rehang the door. (We also removed the weather stripping before rehanging the door since it had also been painted green. We’ll install new weather stripping in a couple of days when the paint is fully cured. The humidity level around here slows the drying time.)

The temporary door placeholder and its newly brown frame.

What color did we decide to paint the door itself and how many coats did it take? Kenn chose the color, which is appropriately named Extreme Yellow. (Or, as I call it, YELLow.) I’m the one who is all about color and sparkle, so the fact that Kenn chose such a vibrant color still amazes me. It took four coats of yellow to cover the green, and there are still a few places I may touch-up. Okay, I’ve yammered on enough, so it’s time for the big reveal. (Drum roll, please.) Kenn is thrilled with the finished product; he says it makes him smile every time he sees it.

The Cabin with its new, extremely yellow door.

We’re planning to leave the shutters green – at least for now. Of course, the more that I look at the “new” door, the more I think we need to change the shutters. If we do repaint them, they won’t be as bright as the door.

So, what do you think? Paint the shutters or leave them be? What color would you recommend for the shutters?

What Did You Do That For?

I’m hopping into my time machine for this week’s post. All of the trials and tribulations poor Suzassippi has encountered during the renovations of her home (especially her recent painting perils) brought this memory to mind.

Many years ago, we decided to paint the dining room at our last house. We had even gone so far as to buy a powered paint roller which was actually kind of neat. It consisted of a bucket into which to pour the paint which was then pumped through a tube and into the roller so that you could paint continuously without constantly needing to stop and reload the roller. It also had a handy shoulder strap for easy carrying. The whole contraption worked great… until it didn’t.

Image from depositphotos.com

Using the power roller was a one person job so I was in the dining room merrily painting away while Kenn was somewhere else. Meanwhile, I was blissfully unaware that the vibration from the pumping process was slowly loosening the seal. (Duhn, duhn, duhn.) I learned what was happening only when the bucket plunged to the floor with no warning. The impact caused a lovely spray of light blue paint to arc out of the bucket, across the dining room, into the living room, and onto the couch. I was still standing there staring in stunned disbelief when my loving husband walked into the room, surveyed the scene, and asked, in all seriousness, “What did you do that for?” Y’all, I love my husband, but he was lucky I didn’t throw the remainder of the paint on him at that point. Probably the only thing that saved him was the thought of having an even bigger mess to clean up. (Painting is also now a project that I do alone, LOL.)

What are some of your home improvement mishaps? And, what did you do that for?😂